About this deal
Once your willow is thoroughly soaked, it is time for weaving your bird basket. When weaving a basket, don’t reinvent the wheel. It’s said that certain baskets were also lined with clay to make waterproof bowls. Clay being another fantastic and natural material that we absolutely love to work with. You can even use it to make an earth oven. Make sure the center branch is about 5 1/2″ (14 cm) from either end. Step 3: Beginning to Weave the Bird Basket As soon as your weaving is slightly over 5″ (13 cm), insert each sharpened branch right next to the original slath members. If you intend to use this as a bird feeder, make sure the base is as tight as possible so that the seeds do not fall through. However, once the basket is complete, it could be lined with foraged moss as a safety net. To Add New Weaving Branches
To form the bulbous shape of the willow basket, you’ll need to add more branches. 12 of them to be exact. Make sure they are as long as possible. When the base reaches about 4″ (10 cm) in diameter, it is time to encourage it to form a cup/bowl shape. The hardest part about basket weaving is the necessity to think about harvesting more than enough willow twigs well before the time comes for you to sit down and weave with them. As you weave up the basket, be sure to add branches before they become too thin. What you are after is an overall evenness in the appearance. Take it one step at a time. First, you need to soak your branches. Soaking Willow Branches for Basket WeavingBesides, baskets are made from all-natural materials, putting your efforts of zero-waste into good practice.
With your sharp knife make a slit in 3 of the branches, directly in the center. Make sure it is just long enough to slide the remaining 3 branches in. Step 2: Making the Slath Before going further, be sure that your branches are still moist and supple. Run them between your fingers from time to time to bend them in the direction that you want them to go. Another thing you can do is switch to weaving with your thinnest willow branches. Step 10: Nearing Completion Use your bodkin, or screwdriver, to open up the slits in the branches. Slide the other branches through, one at a time.
Like with any knitting project, don’t ask how long it takes. Just relax into it and enjoy the process, for it will take varying hours depending on your hand strength, materials and weaving skills. The general rule of thumb for soaking branches says to submerge the branches one day for every foot of length. Creeks work too, so long as you make sure to tie up the bundle in case of rain. They can float away if not restrained.
Wherever hunter-gatherers traveled, they could make baskets anew from local materials that they found along the way. Not just willow, but brambles, vines, hazel, straw, bark, rushes and roots. Now it’s about to get a tiny bit more complicated. You can handle it, just keep a firm grip on what you’ve already completed. As you come to each set of three branches in the cross, bend and weave around (over-under) each one. If you’d like to weave a bird feeder that is easier and less time consuming, you can sample some pretty and practical projects here: Willow Craft 10 Bird Feeder Projects Soak them for too short a time and they will break easily. Too long and they may become slimy. The length of time to soak them also depends on how dry and what kind of willow they are.
Newsletter
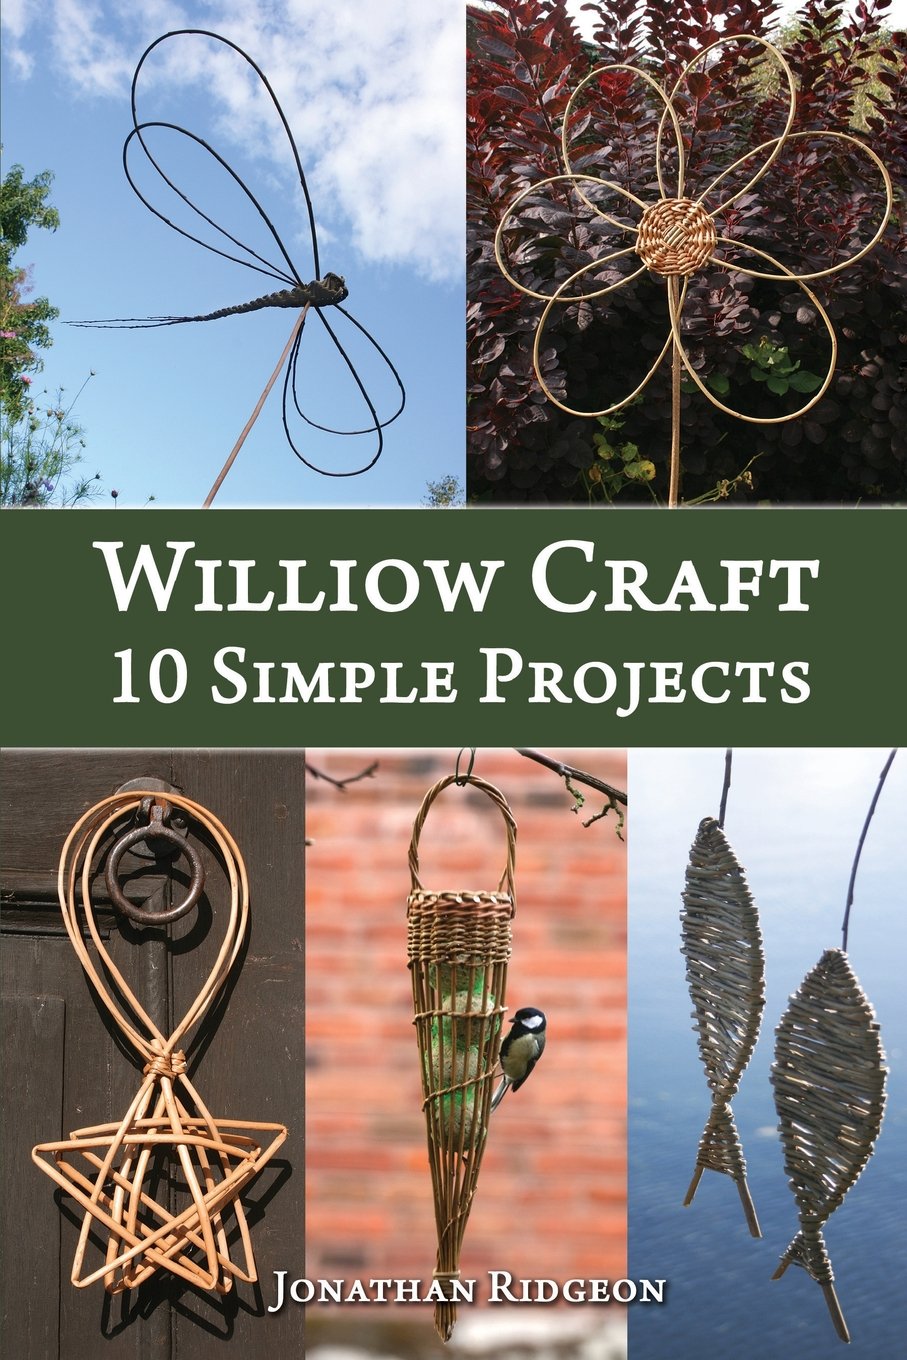
Take every opportunity you have to use the tools around you. For example, to weave in the small end and pull it through, you don’t need to force it. Simply insert your bodkin between the branches, making a “hole” to pull the branch safely through. The first time we wove a bird basket, we didn’t have any tools other than a pair of pruners, a garden knife and a homemade bodkin. The latter was merely a sharpened branch that needed to be replaced each time it broke. The woven bird basket that you are about to see (and hopefully recreate) is from the work of Jonathan Ridgeon at Jon’s Bushcraft. Outside of that, you’ll need a bunch of dry willow branches, some strong hand muscles and several hours of uninterrupted time. Harvesting Willow for Basket Weaving Be sure to trim all excess ends as you weave. That way you won’t end up with a hedgehog of a basket.
You can also use them while out foraging for wild plants, for bringing in firewood or for more decorative purposes around your home. Best of all is when baskets combine function with beauty. Because basket weaving requires few tools, making it simple to get started. It’s relatively easy to learn when given the right instruction (or access to a course/instructor). And it’s a great way to keep your hardworking hands busy offline. When you are satisfied with the size of the door, continue weaving in the same direction with one branch at a time. You can’t just decide, it’s a great day to weave a basket. The sun is shining, I have a whole day off of work, let’s have some fun. Now, that the base of your bird basket looks like a multi-legged spider, it is time to add 3 more branches, spaced evenly, to the mix.We’ve decided to go more artistic with this hanging pod and use the full length of the branches to form a loop.
 Great Deal